But that was only the beginning of the thought process as the bridge size was going to be critical. Too narrow and it might look good, but the game played on it would be frustrating as units queued up to fight a one on one battle in the middle.
I decided to go for a bridge wide enough for three normal units (or a combination of larger and smaller units).
Here's how I went about it:
1) Decide that what you need is a preposterously over sized bridge.
2) Get some foam board from a hobby or art shop (Hobbeycraft sells this in England).
3) Gather a shockingly large amount of spare wood you happen to have lying around.
4) Use a craft knife to cut the foamboard into the appropriate sizes. My bridge is 17" wide. The level section is 22" long and the ramps are about 11.5".
5) Eat some Bran Flakes.
6) Glue on "hinges" made from cardboard. These allow the bridge to be set at different heights with the ramps then at varying pitch.
7) Write a note to yourself to not glue wood on later that will completely undermine the original plan to have bridge as adjustable (I missed this step).
8) Pile two paint pots up into an intriguing paint pot pyramid.
9) Reinforce the underside with hard balsa wood pieces while taking a refreshing drink of lemon.
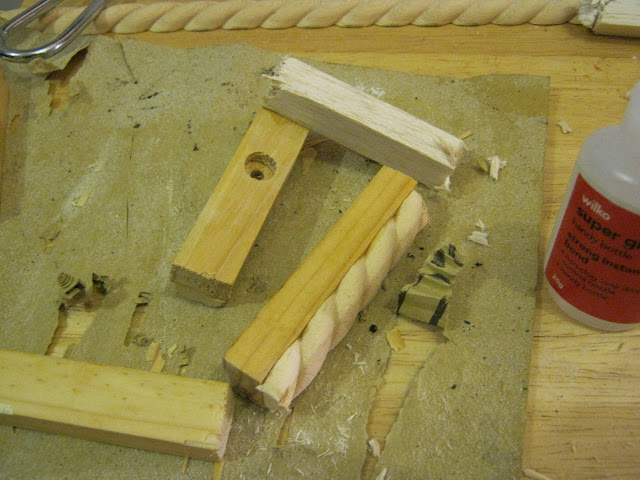
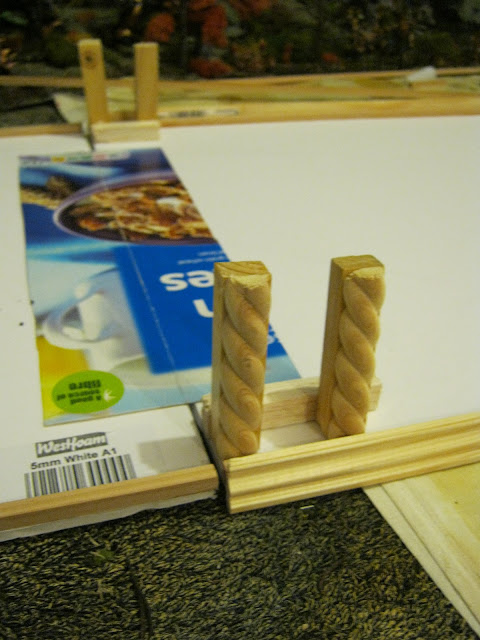
10) Cut some appropriately shaped moulding wood to and hang from the side of the bridge to give a decorative look and an illusion of thickness.
11) Use old VHS video tapes to hold the wood in place while it glues.
12) Add balsa wood on the edges of the upper side of the bridge to make an edge to it.
13) Remember to put that Homebase receipt someplace safe.
14) Make some legs from wood and decorate them with more moulding.
15) Realise the legs are too narrow and rip them off.
16) Take a photo and email to friends so they think you're a cool dude. Place miniatures and tower on bridge for scale demonstration. Ensure VHS tapes remain in shot for nostalgic purposes.
17) Cut some new legs from insulation foam using a saw. Cut grooves in them to make them look like layered stone and paint them accordingly, dry brushing through various shades of grey.
18) Add more decorative moulding to the top of the bridge and use paper sheets to cover the cracks where the foam board joins are.
19) Paint the parts of the bridge that are going to be exposed black then dry brush through several shades of grey.
20) Try to ignore discarded fragments of broken legs.
21) Buy a black towel (or towelling material) of the appropriate size and dry brush Scorched Brown (I used a duplicated colour from B&Q). This is also how I did my war board blanket by the way.
22) Drybrush the towel Bestial Brown in patches.
23) Take a bath. Use towel to dry yourself.
24) Place over a radiator.
25) When dry, drybrush the towel Bubonic Brown in overlapping patches so that all previous colours are still visible.
26) Drybrush Bleached Bone in the same way.
27) Put the towel on the bridge and set it up.
29) Console yourself with the fact that it is chuffing cool!


Couple of questions:
ReplyDeleteCan you replace lemonade with beer?
Do you have to use VHS tapes? I seem to have left the 80s and 90s behind and don't have any left now.
Would the Mrs's good towels work for a base? They seem to be the only ones I can find at the moment.
Great tutorial though, and again a great terrain piece, even if the entire game can be played on it. Though I guess that is the point so, mission accomplished!!
Heh heh.
ReplyDeleteWife or girlfriend's best towels are definitely preferred for this kind of hobby project. I recommend sneaking it away, turning it into a war blanket THEN revealing it to your other half with a triumphant grin and the words "Look at the cool thing I made!"
Very cool indeed, well done :D
ReplyDeleteThank you my good sir!
ReplyDelete